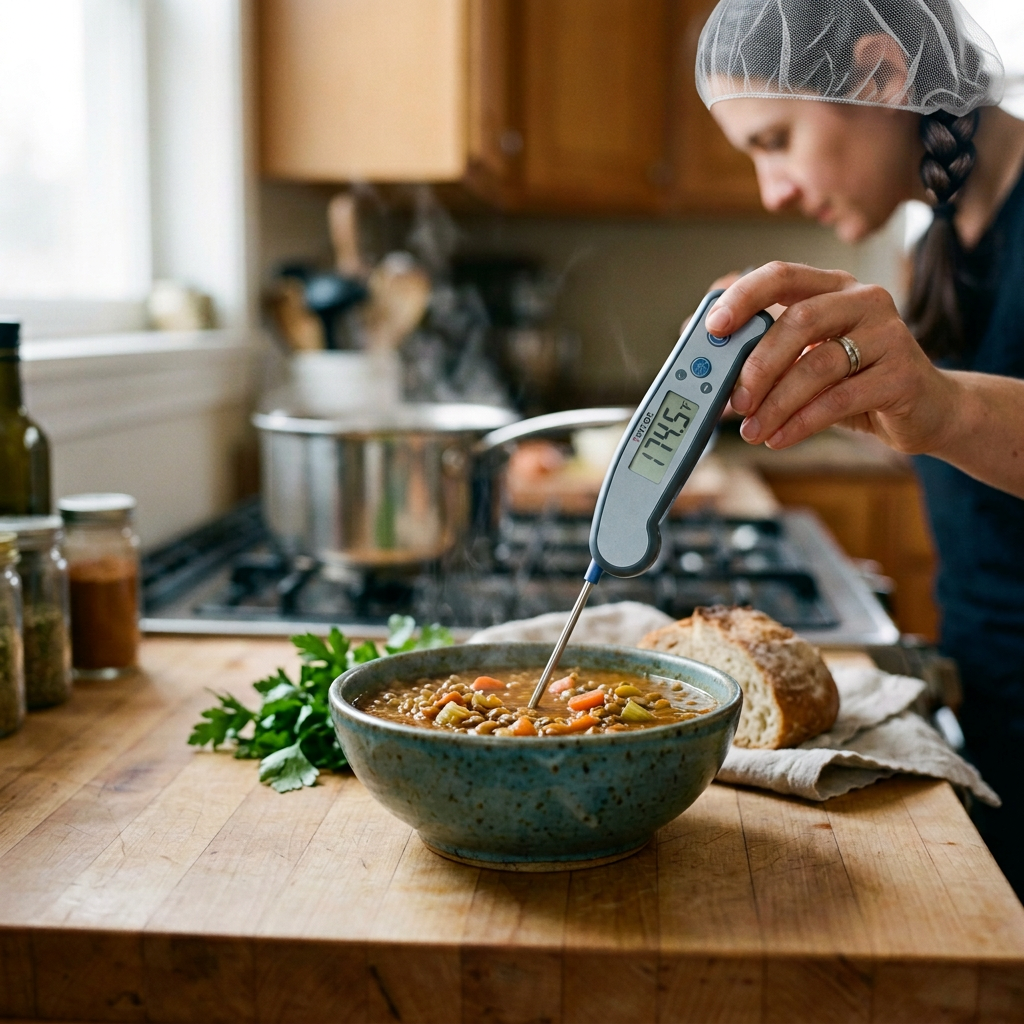
How to Calibrate and Use a Probe Thermometer in Childcare
Accurate temperature monitoring is one of the most important food safety controls in a childcare kitchen.
Potentially hazardous food needs to be kept at safe temperatures, and in many situations the temperature that matters is the temperature of the food itself — including the internal or core temperature — not simply the temperature of the refrigerator, oven or surface of the food.
This is why every childcare kitchen handling potentially hazardous food should have access to an accurate probe thermometer.
Under Standard 3.2.2 of the Australia New Zealand Food Standards Code, a food business handling potentially hazardous food must have a readily accessible temperature measuring device capable of accurately measuring the temperature of potentially hazardous food to within ±1°C.
Why use a probe thermometer instead of a laser thermometer?
Infrared thermometers — often called laser thermometers or temperature guns — can be useful food safety tools, but they have an important limitation:
They measure surface temperature.
They do not tell you the temperature inside the food.
This matters because the surface and centre of a food can be at very different temperatures.
For example, imagine a large container of cooked pasta sauce being cooled in a refrigerator.
The surface of the sauce may have cooled to 5°C while the centre of the container is still at 15°C.
An infrared thermometer pointed at the surface could therefore give you a reassuring reading while the warmest part of the food remains within the temperature danger zone.
The reverse can occur during cooking.
The outside of a piece of food may be extremely hot while its centre has not yet reached the required temperature.
This is why core temperature matters
Microorganisms don’t only exist on the surface of food.
When temperature is being used as a food safety control, we need to know whether the relevant part of the food has reached — or remained at — the required temperature.
A probe thermometer allows us to physically insert the sensor into the food and measure its internal temperature.
For cooking, this will generally mean measuring at or near the centre or thickest part of the food.
For cooling, the objective is to measure the warmest part of the food, which is commonly towards the centre.
A laser thermometer simply cannot provide this information because it does not penetrate the food.
Does this mean laser thermometers shouldn’t be used?
No.
Infrared thermometers can be very useful as a screening tool.
For example, they can be used to quickly check the surface temperature of packaged chilled food or identify whether something appears unusually warm or cold.
However, where the actual internal temperature of food needs to be established, the reading should be taken using an appropriate probe thermometer.
Think of an infrared thermometer as a quick check and a probe thermometer as the verification tool.
How to Calibrate a Probe Thermometer
A thermometer is only useful if its readings are accurate.
Thermometers can lose accuracy through normal use, being dropped, exposure to extreme temperatures, damage or simply over time.
Regular accuracy checks should therefore form part of the childcare service’s food safety procedures.
One of the simplest methods is the ice-point check.
What you will need
You will need:
- the probe thermometer
- a clean container or cup
- crushed or small pieces of ice
- clean cold water
- a clean stirring utensil
- sanitising equipment for the probe.
Step 1 — Prepare the ice slurry
Fill a clean container generously with crushed or small pieces of ice.
Add enough cold water to fill the spaces between the ice.
There should still be plenty of ice remaining in the container — you are creating a mixture of ice and water, not simply a glass of very cold water.
Stir the mixture and allow it to stabilise.
A correctly prepared ice-water mixture should be approximately 0°C.
Step 2 — Insert the probe
Place the thermometer probe into the centre of the ice slurry.
Do not allow the sensing area of the probe to touch the bottom or sides of the container, as this may affect the reading.
Ensure the sensing area of the probe is sufficiently immersed.
Step 3 — Allow the reading to stabilise
Gently stir the ice slurry around the probe.
Wait until the thermometer reading has stabilised.
Step 4 — Check the result
The thermometer should read approximately 0°C.
Because a thermometer used to measure potentially hazardous food must be capable of measuring temperature to within ±1°C, a reading outside the acceptable accuracy range requires action.
As a practical verification check:
Expected reading: 0°C
Acceptable accuracy: ±1°C
Therefore, a reading between approximately -1°C and +1°C indicates that the thermometer is operating within the required tolerance at the ice point.
Step 5 — What if the thermometer is outside ±1°C?
If the thermometer reads outside the acceptable range:
Do not simply continue using it as normal.
Depending on the thermometer, it may be possible to recalibrate it according to the manufacturer’s instructions.
If it cannot be adjusted, it should be repaired or replaced.
A thermometer known to be inaccurate should not be relied upon to verify critical food temperatures.
Step 6 — Record the calibration check
The check should be documented on the service’s thermometer calibration record.
Record:
- date
- thermometer identification, if more than one thermometer is used
- expected temperature
- actual reading
- whether the thermometer passed or failed
- corrective action taken if required
- initials or name of the person completing the check.
This provides evidence that the service is checking that its temperature monitoring equipment remains accurate.
How often should a probe thermometer be checked?
The service should establish an appropriate verification frequency within its food safety procedures.
In addition to scheduled checks, the thermometer should be checked whenever there is reason to doubt its accuracy, including if it:
- has been dropped
- has been damaged
- has been exposed to temperature extremes
- is giving unusual or inconsistent readings.
If the thermometer cannot reliably measure food temperature within the required tolerance, it should not be used for food safety verification.
How to correctly take a food temperature
Before taking a temperature:
1. Clean and sanitise the probe.
This is particularly important when moving between different foods. A contaminated thermometer probe can itself become a source of cross-contamination.
2. Insert the probe into the appropriate part of the food.
For cooking, this will usually be the thickest part or centre of the food.
For cooling, measure the warmest part of the food.
Avoid touching the container, tray or cooking surface with the tip of the probe.
3. Wait for the reading to stabilise.
Don’t insert the thermometer and immediately remove it.
Allow sufficient time for the thermometer to reach the temperature of the food.
4. Read and record the temperature where required.
If the temperature does not meet the required limit, follow the corrective action specified in the service’s Food Safety Program.
5. Clean and sanitise the probe after use.
This prevents contamination being transferred to the next food tested.
Why fridge thermometers aren’t enough either
A refrigerator display might say 3°C, but that doesn’t necessarily mean every container of food inside the refrigerator is 3°C.
The display measures the temperature detected by the refrigerator’s sensor — not necessarily the temperature of the food.
Similarly, a bain-marie temperature gauge tells you about the equipment, not necessarily the temperature at the centre of the food being held in it.
Equipment displays are useful for monitoring whether equipment appears to be operating correctly, but they don’t replace checking the actual food when verification of the food temperature is required.
Probe vs Laser Thermometer — the simple rule
Probe thermometer = measures the actual internal temperature of food.
Infrared/laser thermometer = measures surface temperature only.
A laser thermometer can therefore be useful for quick screening checks, but it cannot demonstrate that the centre of a food has reached or remained at the required temperature.
For example:
Laser reading: Surface of cooked chicken = 78°C
What we know: The outside is hot.
What we don’t know: Whether the centre is adequately cooked.
Using a probe:
Probe reading in the thickest part: 75°C
What we know: The internal temperature has been measured.
The same principle is particularly important during cooling.
A container may feel cold and have a cold surface while retaining considerable heat in its centre.
This is why food temperature — rather than simply air, equipment or surface temperature — is fundamental to effective temperature control.
The key message for childcare kitchens
Every childcare kitchen handling potentially hazardous food should have a readily accessible, accurate probe thermometer.
Staff should know:
how to use it,
where to place the probe,
how to clean and sanitise it,
how to check its accuracy, and
what to do when a temperature is outside the required limit.
Temperature monitoring isn’t simply about writing a number on a record sheet.
The purpose of taking the temperature is to verify that the food safety control is actually working.
A laser thermometer can tell you what’s happening on the surface.
A probe thermometer tells you what’s happening inside the food — and when core temperature matters, that’s the temperature you need to know.
Leave a Reply